|
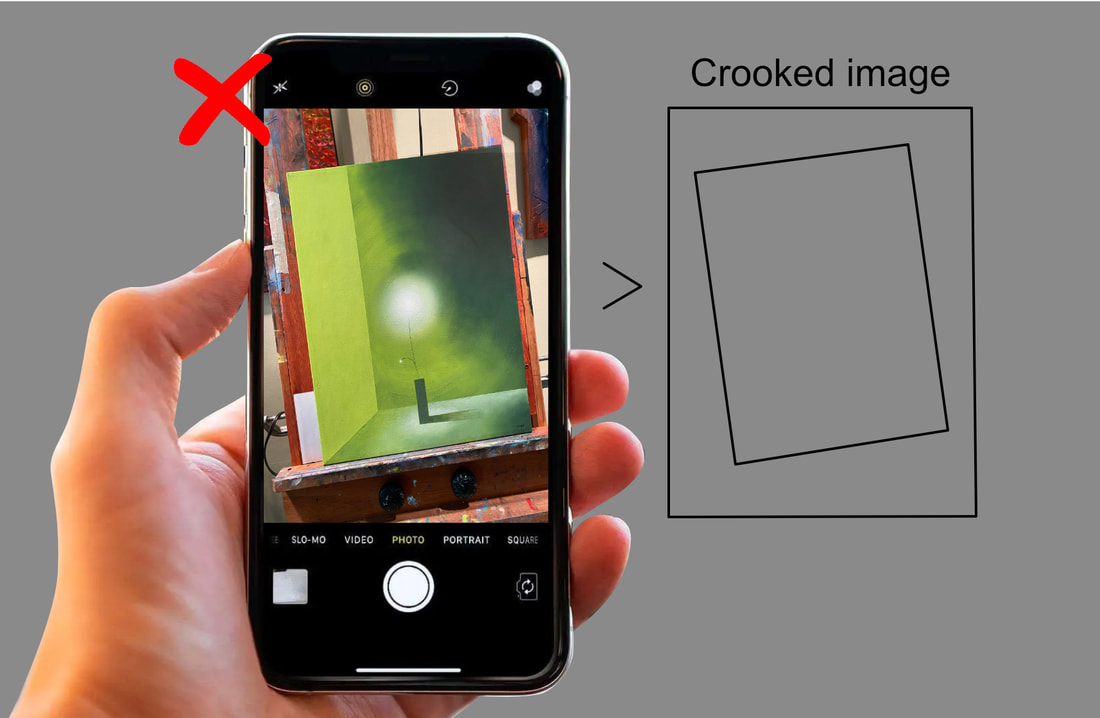
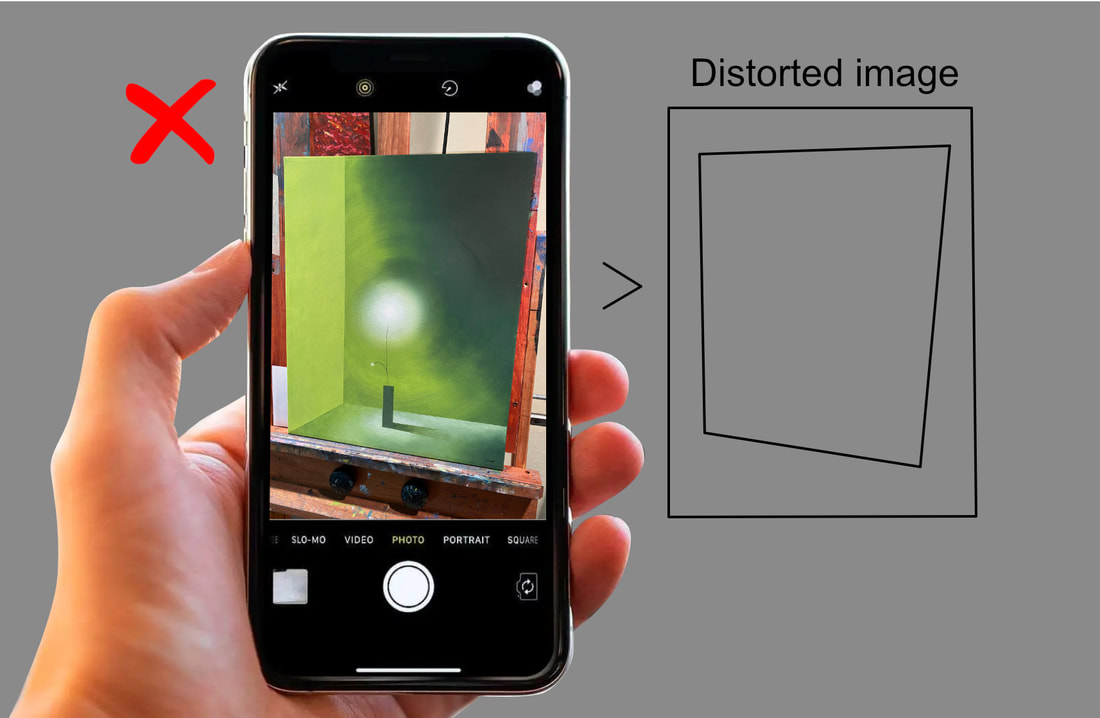
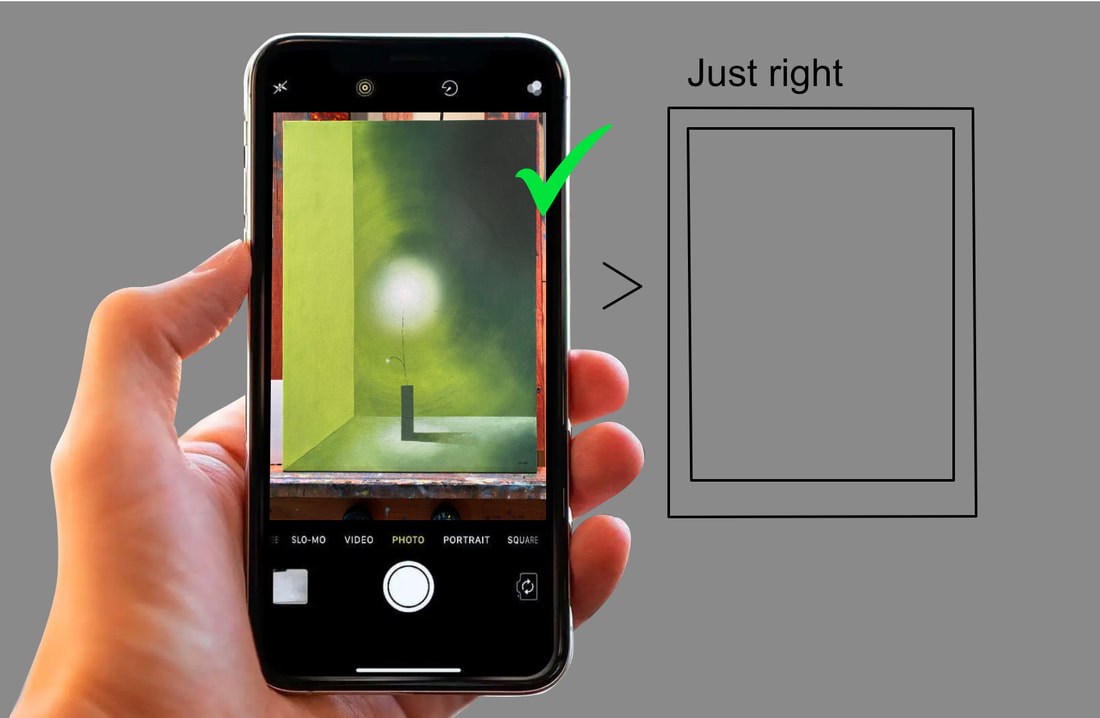
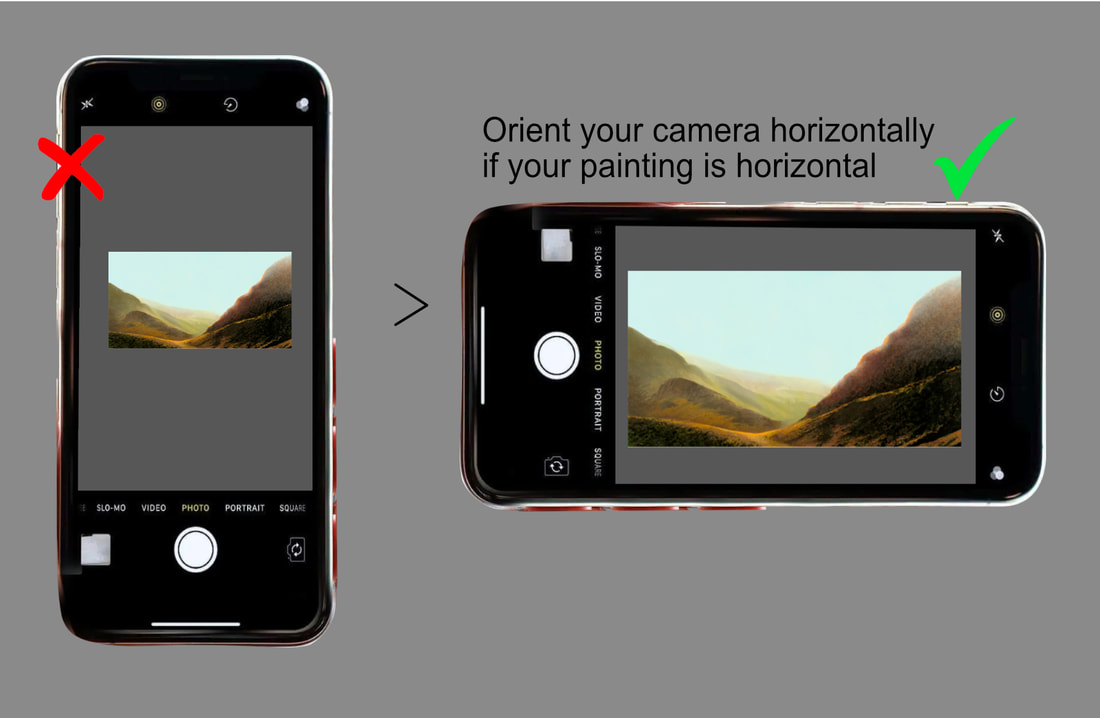
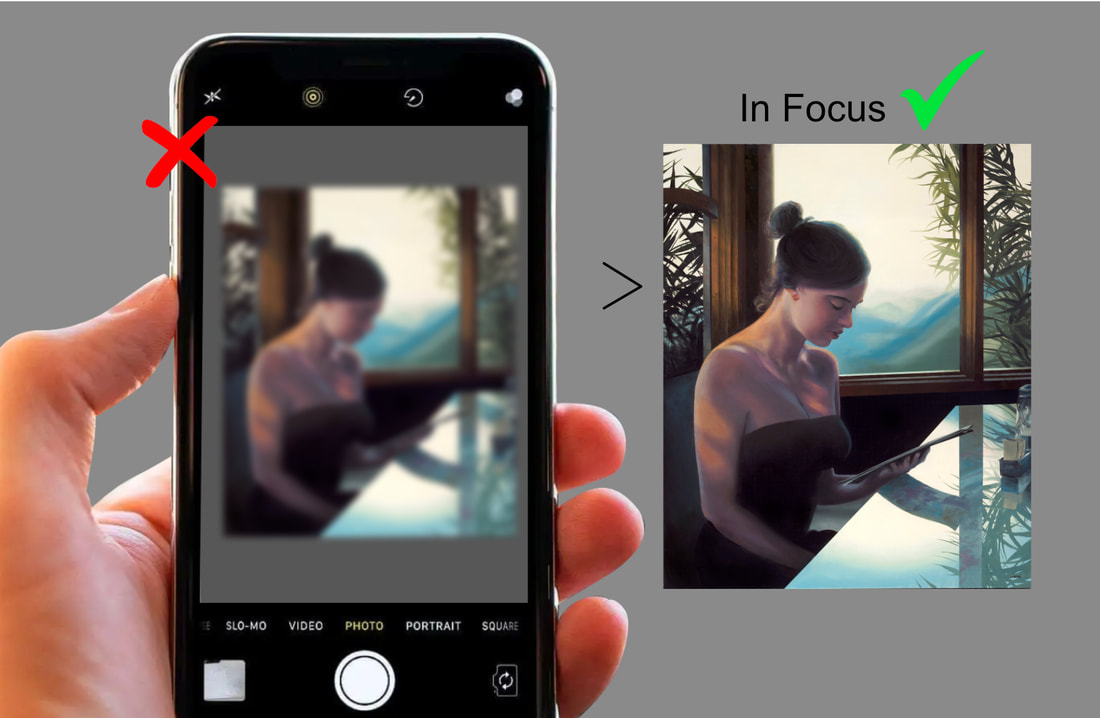
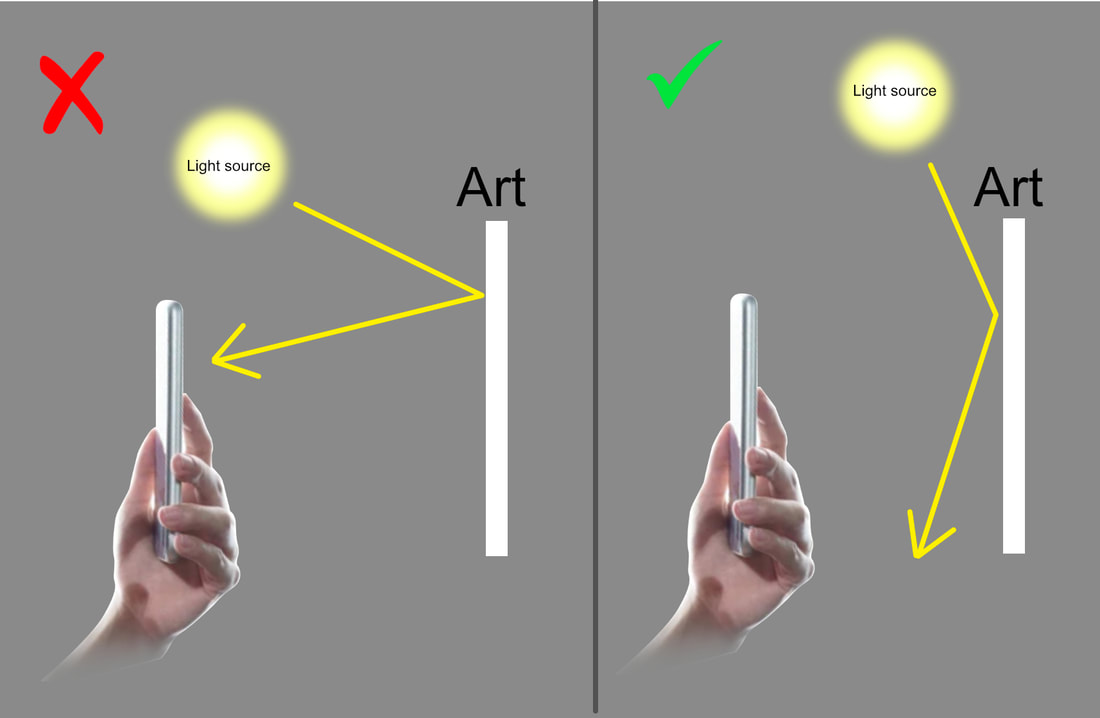
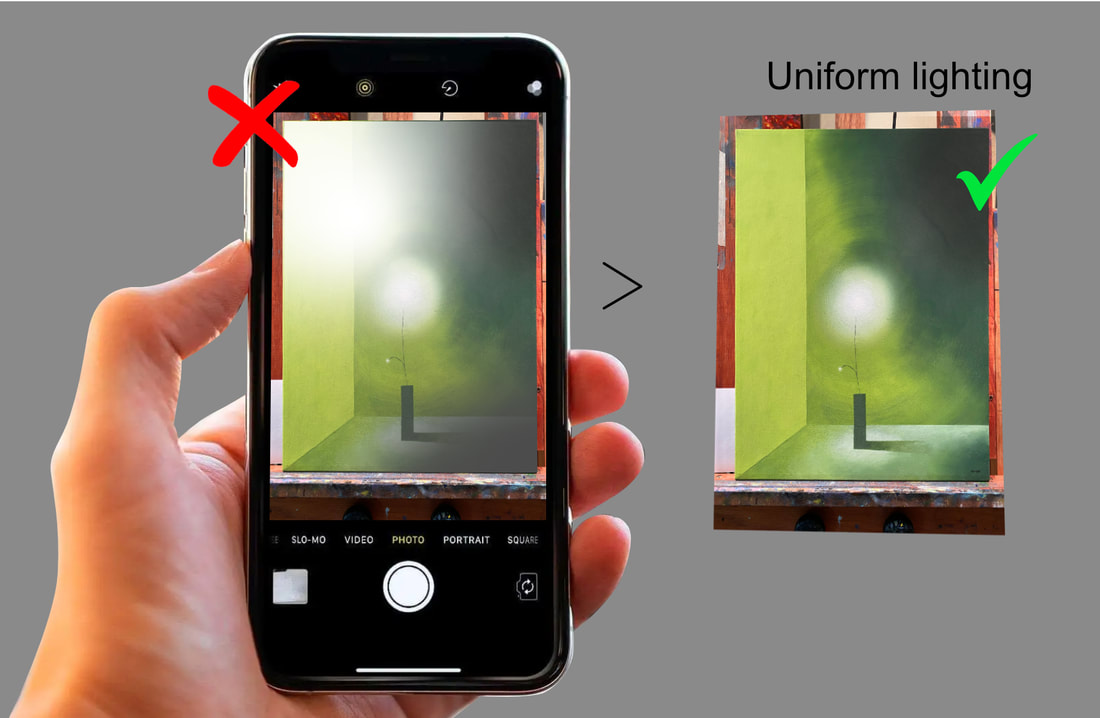
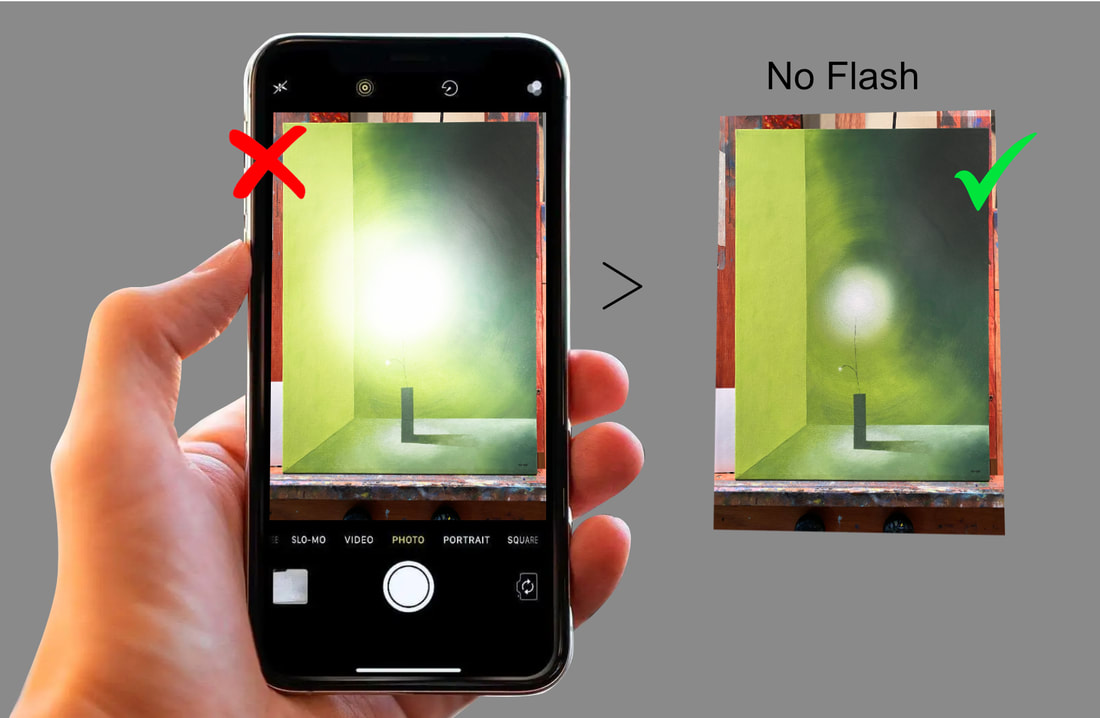
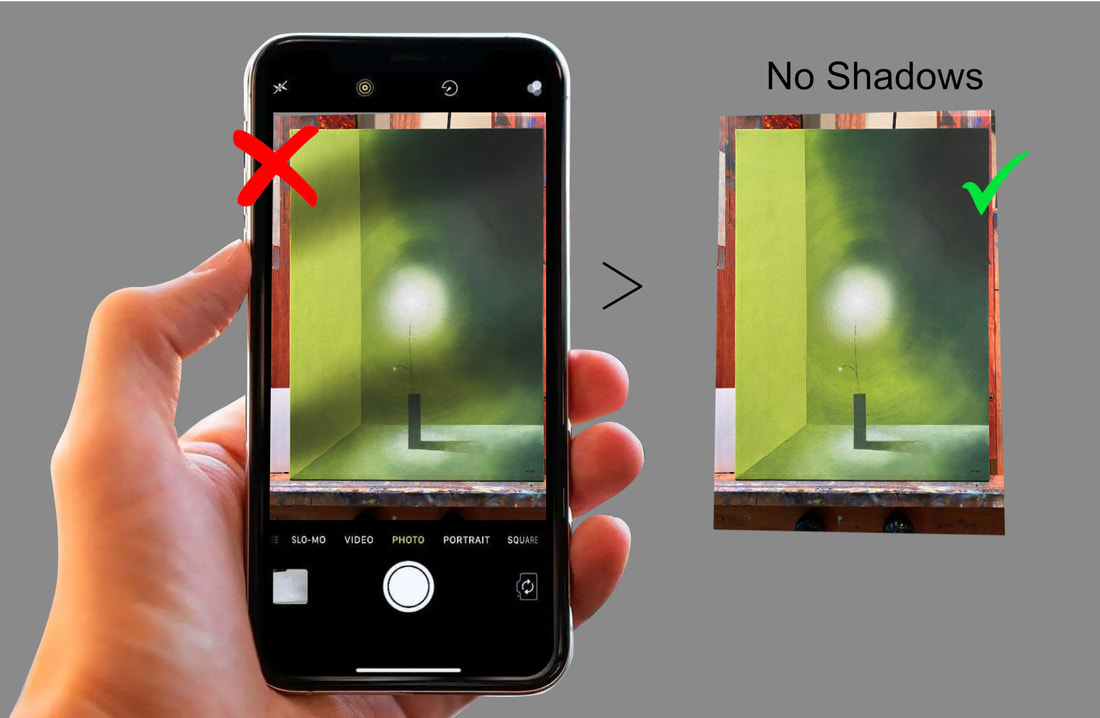
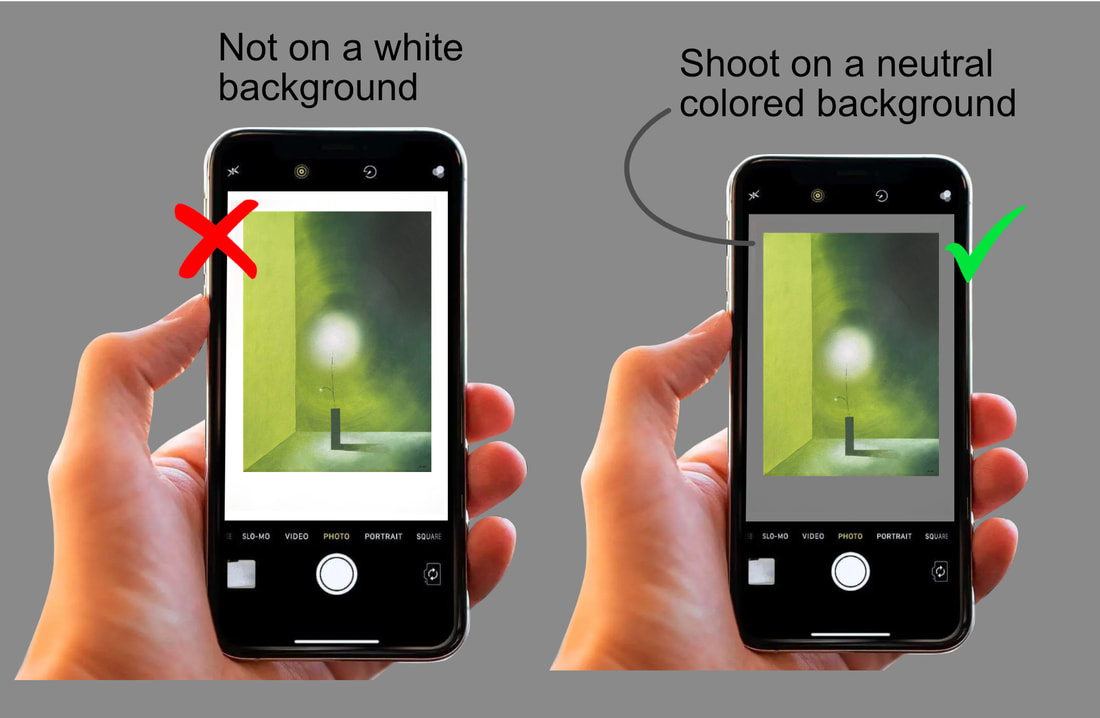
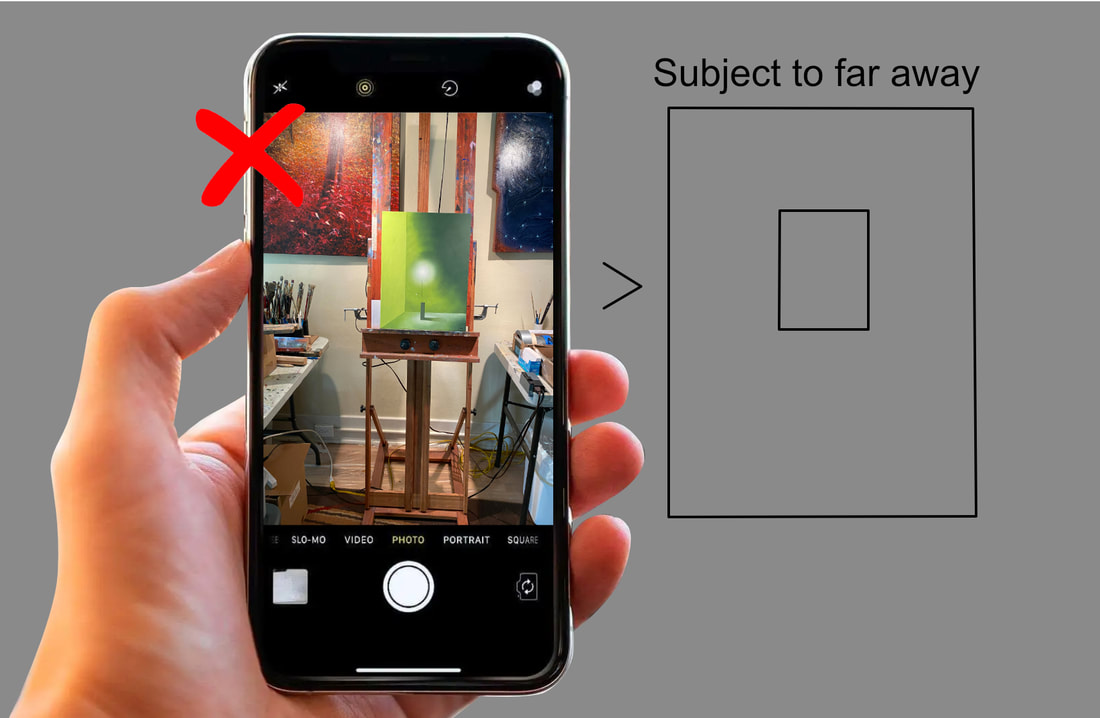
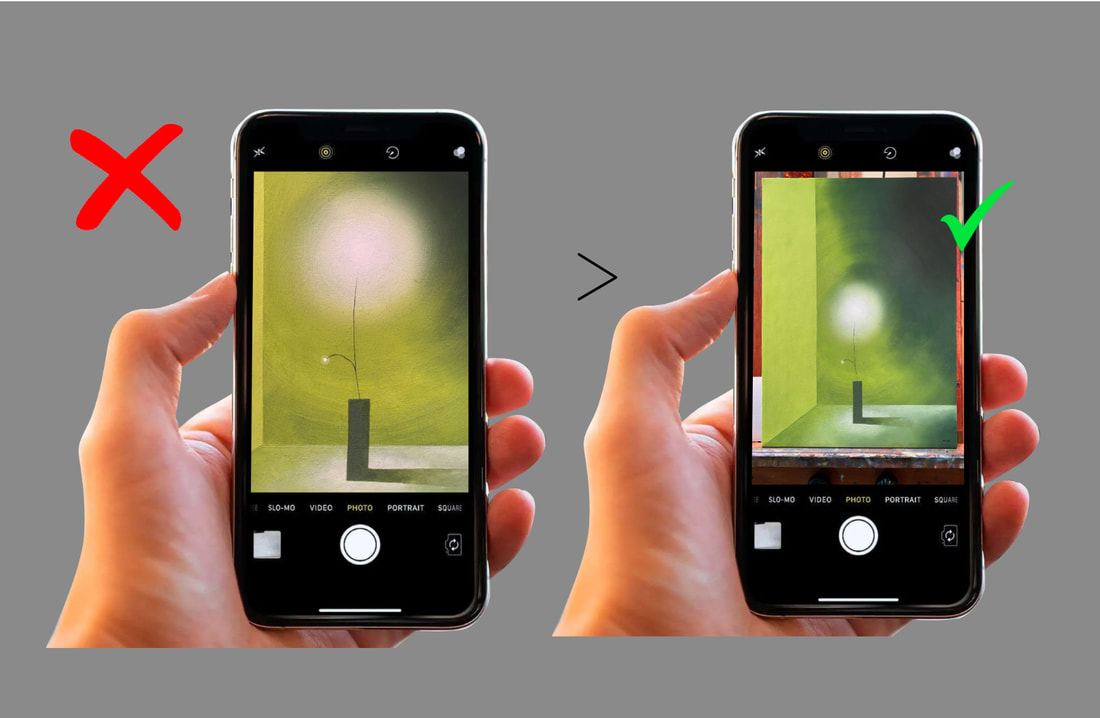
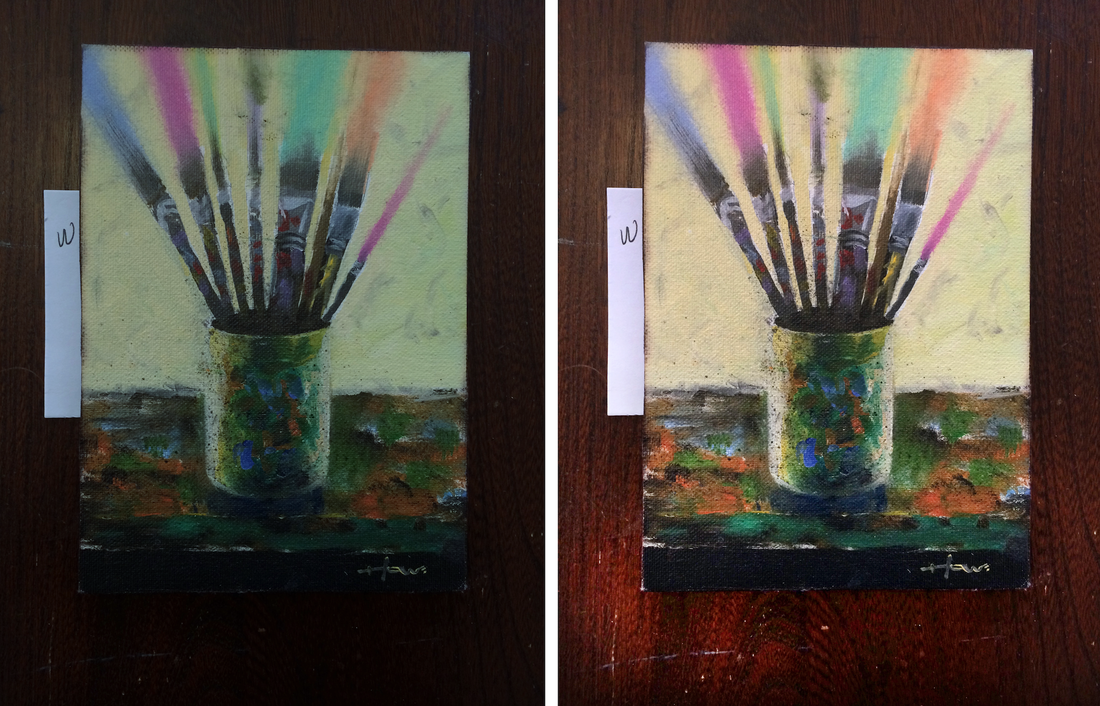
Here I have simplified some of the issues relating to photographing your artwork with a camera phone. With these common sense suggestions you’ll be able to produce good-quality photos of your paintings. For the highest possible quality—if you intend to make prints, you will need to go to a professional art photographing service that specializes in photographing art. But a good phone camera can produce excellent images of your artwork for most digital representation. Here are some important tips to follow. Set you camera to the highest resolution. This will make the file larger, but you want a larger file for recording your paintings for display, reproduction, and posterity. On an iPhone you would select High Efficiency for the highest resolution. (Settings > Camera > Format > High Efficiency). Avoid crooked image: When photographing your artwork, make sure you position your camera so that the painting is perfectly square on the screen. Avoid image distortion: Make sure your camera is perfectly parallel to your painting. Correct orientation of your phone to your artwork. Camera orientation. We are used to holding our phone cameras vertically. But to get the largest possible image, and highest resolution. Always orient you camera so you are shooting the longest side of the screen with the longest side of the painting. You can rotate the image later with your camera's editing feature. Phone cameras focus automatically. But sometimes, because a painting is flat, and not three-dimensional like the real world, the camera has difficulty focusing. Check to make sure your image is in focus. Avoid glare: Whether shooting your artwork indoor or outdoor, make sure you are not getting glare from any light source. Uniform Lighting: Make sure the light is uniform on your artwork. No glare and no shadows. No flash! Turn the camera’s flash off. It will cause a glaring ‘hot’ spot in the middle of your painting. No shadows. Make sure no shadow are anywhere on the painting from the surrounding environment. Shoot your painting on a neutral colored background. Don’t use white or any bright color. The reason is that if you have white all around your painting, the camera will ‘think’ the white is part of the painting and will include it in its overall color and value adjustment. Whereas a neutral color will tend to be “ignored”. Don’t shoot from far away. You want the image as large as possible in the picture frame without cropping any part of the image. Don’t shoot too close. You always want a little of the surrounding background to show on the screen. That way you will know for sure your haven’t cropped out any of your painting. Then you can do a more precise crop with the camera's photo editing tools. White Balance: Most cameras adjust White Balance automatically. When the camera sees white, it will automatically adjust all other colors to their proper color temperature. Temperature relates to an image's either cool cast or warm cast. White Balance is a perfect balance between cool and warm. But sometimes the camera doesn’t correct White Balance perfectly. I alway include a small piece of white paper next to my painting so I can check the White Balance after taking the photo. If the white is not perfectly white, then I can adjust it on my camera after taking the photo.
0 Comments
|
AuthorPatrick Howe Archives
July 2024
Categories
All
|
|
Copyright © 2023, by Patrick Howe, all rights reserved.
Patrick Howe, Artist, Author and Educator Seattle, WA. Contact: [email protected] |
|
 RSS Feed
