|
Replace Your Paint Tube Caps with Flush Valves I've been using them for a few weeks now, and they seem to work really well. The benefit is that you no longer have to fiddle with paint tube caps. The little valve pinches together so tightly that it forms a sufficient seal, keeping your paint from drying out. Then, all you have to do is squeeze out paint when you want. I will probably continue using them, but here are a few minor inconveniences. You have to press very hard and twist to get the valve onto the end of your paint tube. And when you squeeze paint out of the tube, you have to squeeze a little firmer. But those are minor issues. (Just in case you don't care for the flesh valves after trying them, don't throw your paint tube caps away) Amazon here. To attach a valve to your paint tube: To attach the valve, don’t try to press the valve straight onto the tube. Instead, you have to stretch the valve opening at an angle against the rim of the tube, then twist firmly to get it on. The invention of collapsible metal paint tubes in the mid-1800s transformed painting. Before tubes, artists mixed and stored paints in cumbersome containers, making outdoor work difficult. During the Impressionist era, painters such as Claude Monet and Pierre-Auguste Renoir could carry ready-made oil paints into the countryside, allowing them to paint quickly on location and capture fleeting effects of light and atmosphere. Art History—Invention of Paint Tubes The invention of collapsible metal paint tubes in the mid-1800s transformed painting. Before tubes, artists mixed and stored paints in cumbersome containers, making outdoor work difficult. During the Impressionist era, painters like Claude Monet and Pierre-Auguste Renoir could carry ready-made oil paints into the countryside, allowing them to paint quickly on location and capture fleeting effects of light and atmosphere. Famous Artist Quote “Without colors in tubes, there would have been no Cézanne, no Monet, no Sisley or Pissarro, nothing of what the journalists were later to call Impressionism.” —Pierre-Auguste Renoir I look forward to seeing you in the studio soon!
0 Comments
• No need to mix Gamsol and Galkyd Lite to create an oil out • Can be used as a primer for board, instead of gesso. (But you can't apply an acrylic layer over it. Any underpainting or colored tinting before painting must be done in oils. • Made of safflower oil, so less odorous and safer for chemically sensitive people • Dries in a semi-gloss sheen rather than high gloss. • It is a "lean" layer, so thicker paint can be applied over it (Sidebar: Notice how they always display tubes of paint upside down? This way, when you squeeze paint out of the tube, you won't get a lot of oil first.)
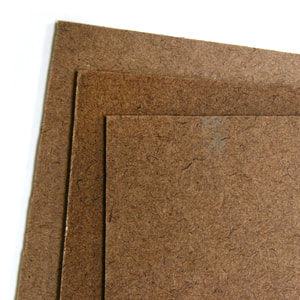
Yes, you can paint a picture on Masonite. Masonite is a type of engineered wood composite made from wood fibers, typically formed into a dense sheet using heat and pressure. It has a smooth, hard surface and is often used as a building material or as a substrate for painting and other artistic applications. First, remove any dirt or debris from the Masonite. Then you can paint on Masonite if you apply three or four coats of gesso first. If the surface of the Masonite is smooth, then use light sandpaper to rough up the surface before applying the gesso. This will allow the gesso to adhere better to the board. If you are intending to produce a super-smooth surface to paint on, then apply each gesso layer thinly with a soft brush. Wait for the gesso to dry completely before painting. Be aware that if you apply the gesso thickly, the ridges of the gesso will appear in your painting if you apply thin layers of oil paint over it. This appearance is neither correct nor incorrect; it’s just an effect the painter needs to be aware of.
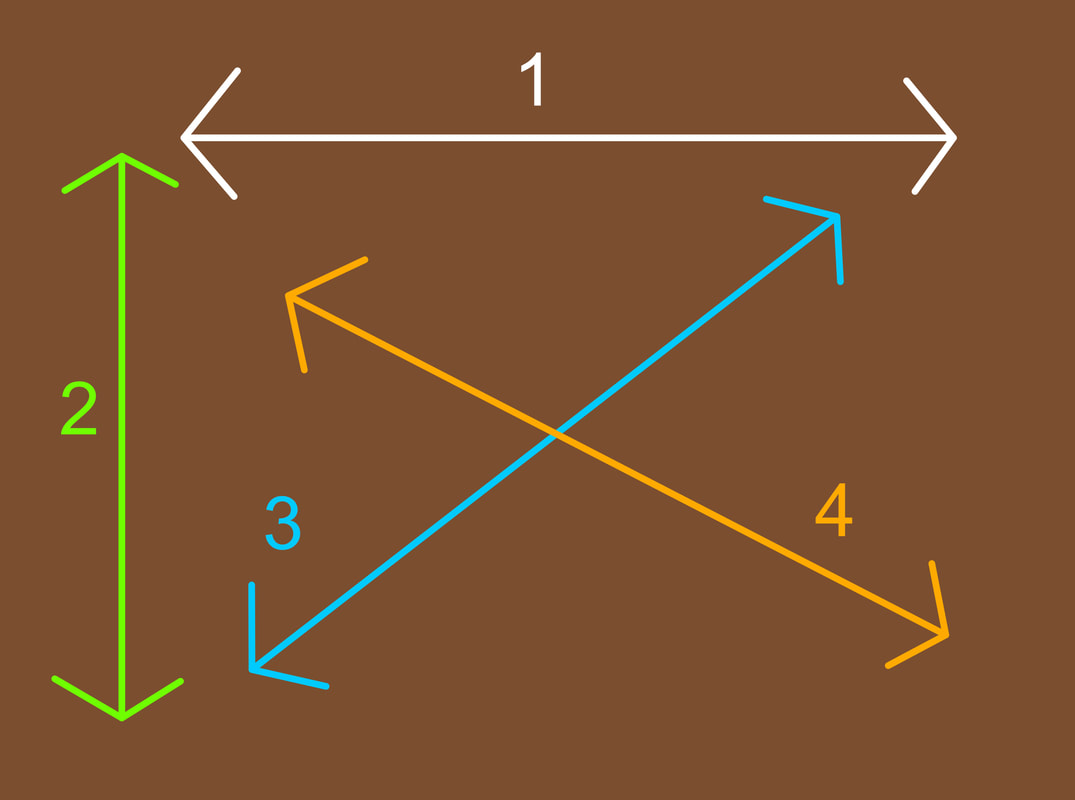
Apply each layer of gesso at different angles. This will result in a smoother gesso surface: |
AuthorPatrick Howe Archives
June 2026
Categories
All
|
RSS Feed